Degree Planner - Advisor View
Student Plans allow students and advisors to map out a student's courses for current and upcoming semesters. This empowers students to create a personalized pathway to complete their degree. It includes all completed, currently enrolled, and future planned courses by term.
- Overview
- Editing in Planner
- How Plans work with Degree Audits
- How to Create Multiple Plans
- Exporting Plans
Overview
Click here to see how to:
- Find the Plans tab on the Student Profile
- Viewing the plan in the Plan tab
- Utilize the Calendar, Collapsed, and Expanded Views
- Open the "Side-by-Side" (Edit in Planner) view
Editing in Planner
The recommended way to edit a student's degree plan is to choose Edit in planner.
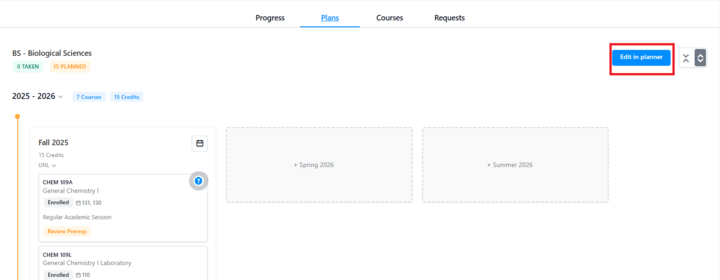
This allows you to use the degree audit and the degree planner on the same page to create a plan.

Adding Courses & Requirements
You can add and remove specific courses and/or requirements to a student's plan. Two ways to do this in Edit in Planner are described below.
You can use Progress to add courses or requirements.
You can use Remaining to add courses or requirements.
If you'd rather add individual classes, rather than dragging and dropping them from Remaining or Progress, click on the semester you want to plan and you can use the buttons provided.
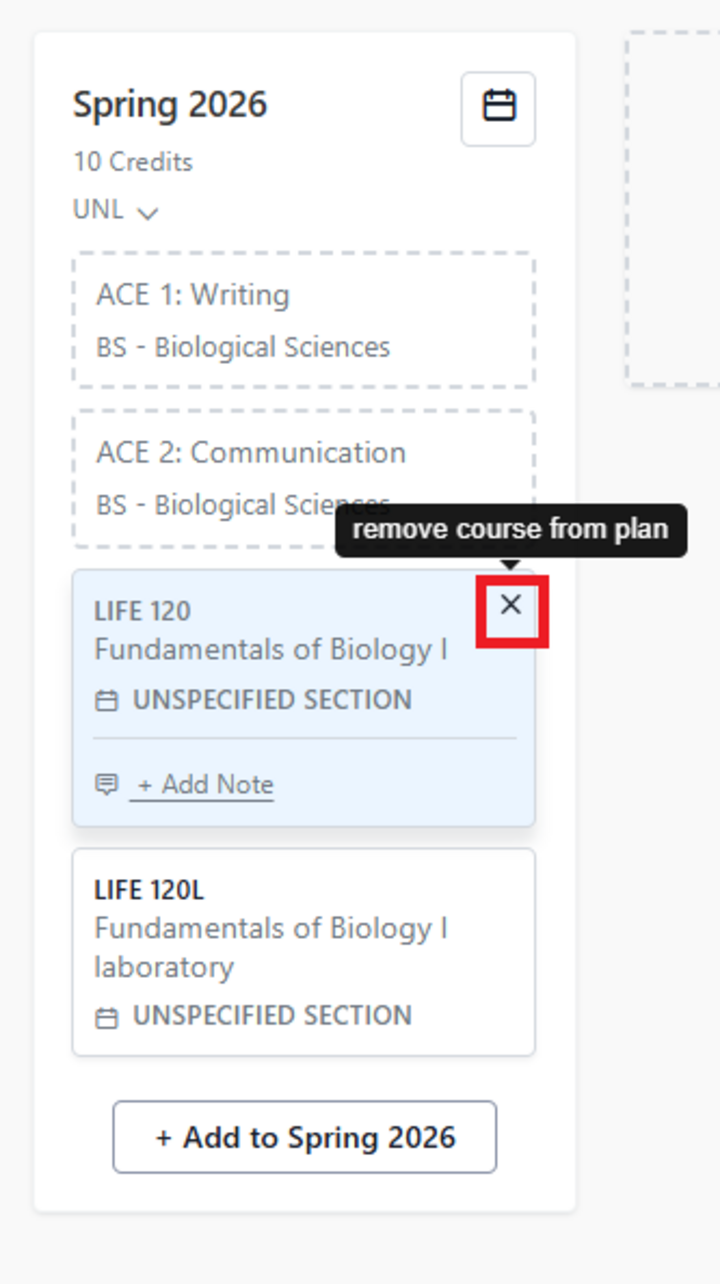
Removing Courses
Click on the X in the top right corner of any class or requirement you have placed in the plan, and it will be removed from that semester. This class will be returned to the Remaining status.
Moving Courses
You can drag and drop classes from one semester to another.
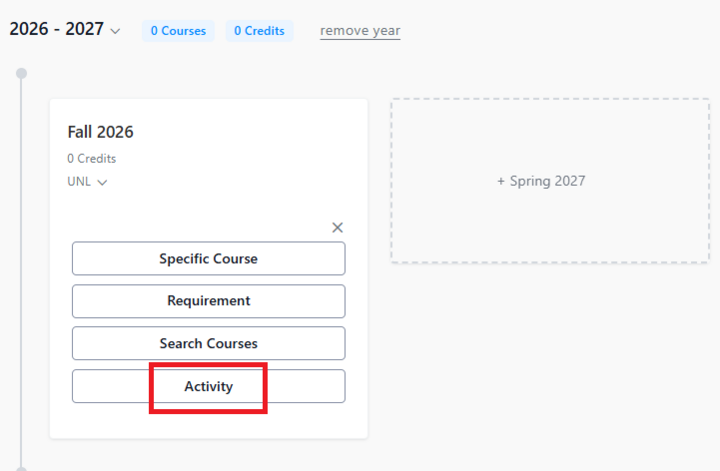
Adding Activities
You can add non-course activities to a student's plan. Adding activities can help students plan extracurricular activities beneficial to their degree, graduate school preparation, career development, or other commitments.
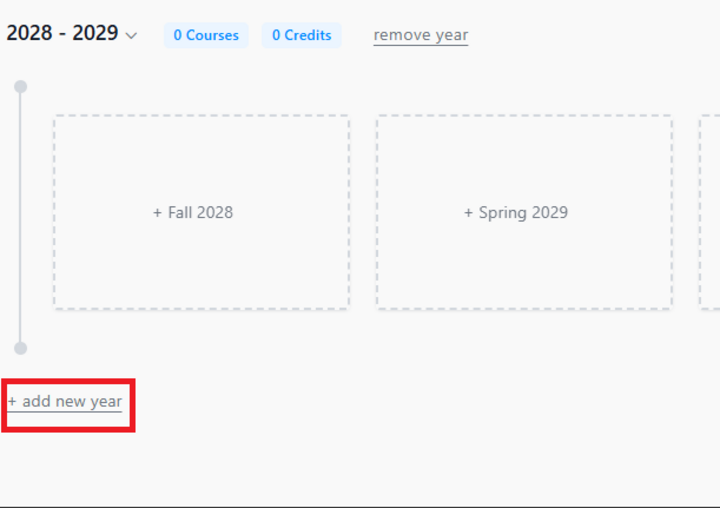
Adding Additional Years
You can add additional years to the students' plan at the bottom of the plan.
How Plans work with Audits
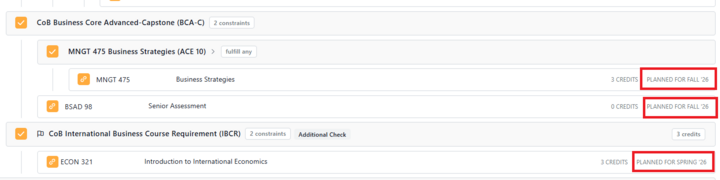
As you add classes to the student's plan, requirements will change from "remaining" to "in plan" in the Progress tab. As you continue to plan, additional classes will have the yellow planned box next to them.
You will have to refresh your browser to see requirements change from "remaining" to "in plan" in the Progress tab in Edit in Planner.
The Planned audit will also indicate which semester the particular class or requirement has been planned:
How to Create Multiple Plans
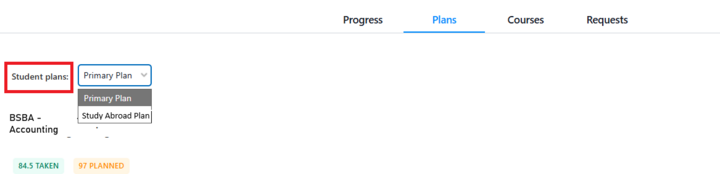
While students can have only one Primary Plan, students and advisors can create up to 3 plans. Additional plans allow a student to visualize alternative future activities or academic pathways (adding a minor, studying abroad, etc.).
Steps on how to create multiple plans can be found by clicking here.
If the student has created multiple plans, you can view these in the Plans tab of a student's profile by selecting the appropriate plan in a dropdown box.
Exporting Plans
Student Plans can be exported into a PDF format. Steps on how to export Plans can be found by clicking here.