Reports
You can create a report from any set of filters so you that you can easily re-run the query at any time. Reports in Stellic can also be tracked so that you can receive notifications with the membership in the report changes.
Skip to a section by clicking on it below:
Creating a Report
Choose your relevant filters. The below filters return a report of all the Freshman with a Sports Media & Communication major.
If you will be running this list often, you can create a report so that you can find these students in just one click next time.
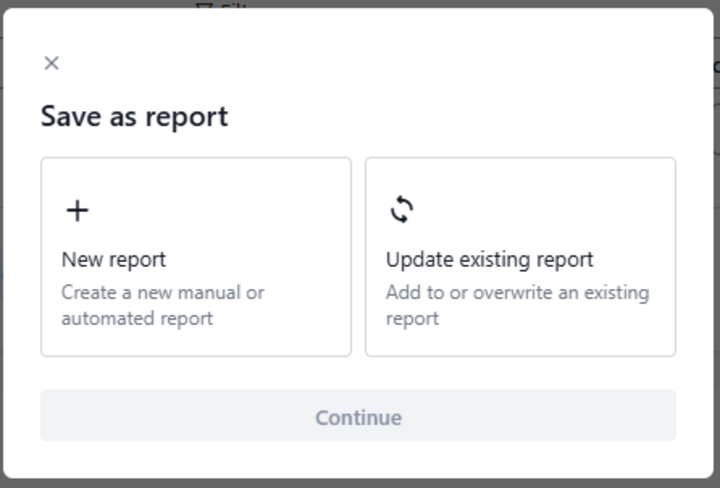
With the filter still active, click the "save as report" button.

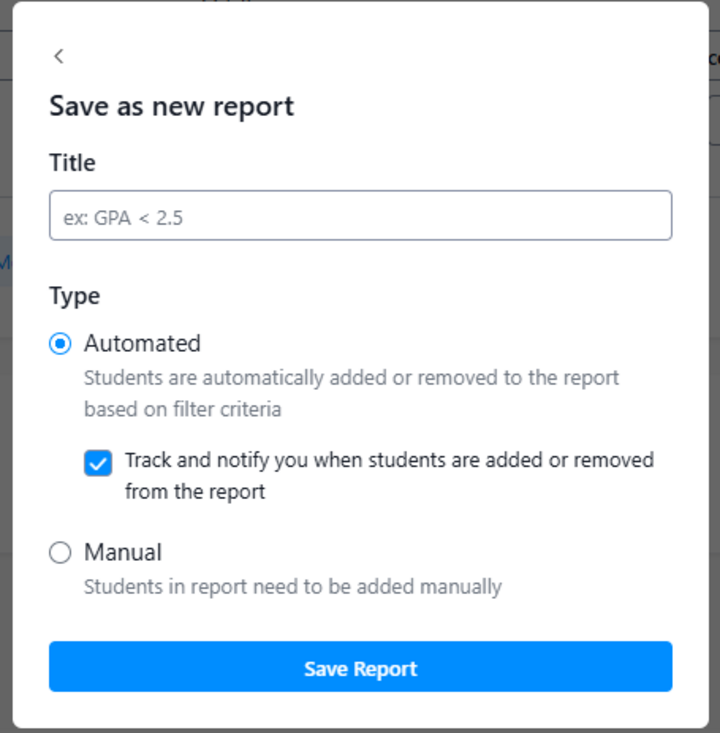
Choose whether you want to create a New Report or Update an existing report.
Give the report a Title.
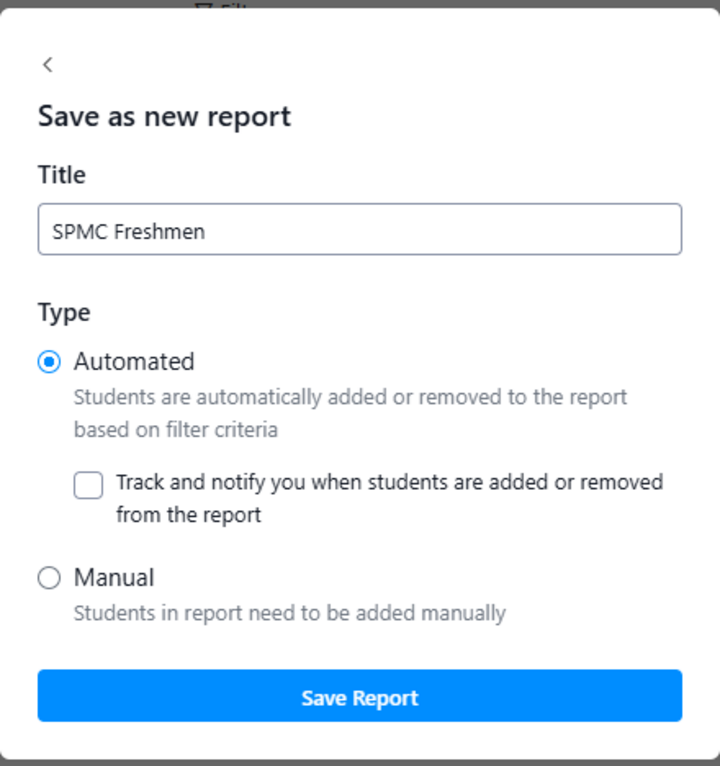
Choose whether you want an Automated report or a Manual one.
Automated report: This report is always up-to-date and dynamic, containing the students who meet your filter criteria whenever you run the report. The list of students who match the automated report will fluctuate as data updates in Stellic.
Manual report: A manual report is static. This allows you to create a snapshot of students frozen in time that you can refer back to in the future. The members of this report will not change unless you manually add or remove them. Caution: You will not be able to see the filters you included in a manual report later, so be sure to name the report very specifically.
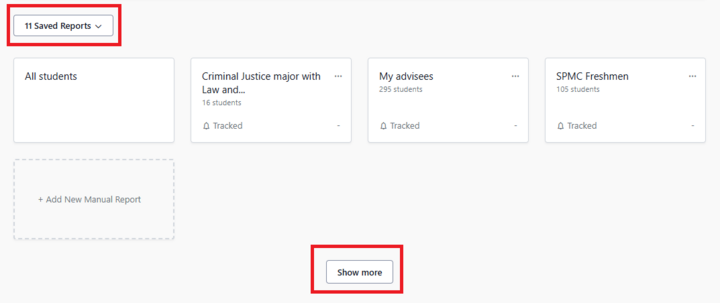
Your reports are saved just below the Keyword search box. You may have to click on Saved Reports or Show More to see all of your reports.
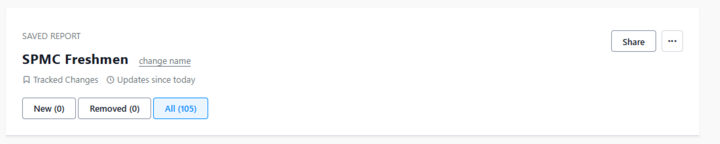
If a Report has been run, your dashboard will display the Report name just above the list of students included in the report:
Tracking Reports
A tracked report includes the current matching list of students and allows you to see and be notified when new students match the search criteria and when students have been removed. You can have up to 30 tracked reports.
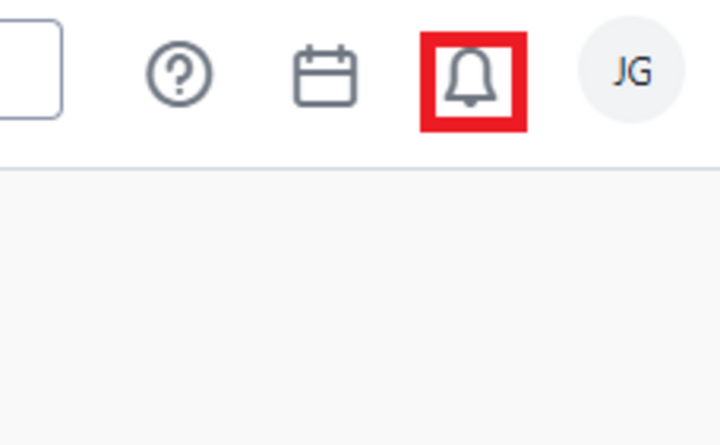
If you choose to track an automated report, you can set up how you receive tracking notifications in Notifications Settings.
Managing your Tracked Report Results
You can view your added and removed students by selecting the buttons below the report name.
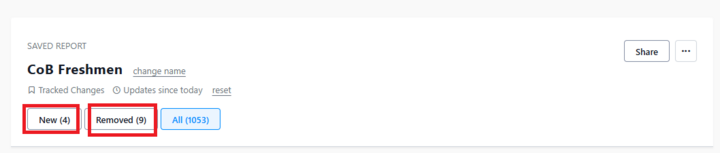
Students in your New list will also be included in the report results.
Students in your Removed list will no longer be part of the report results but will be visible in Removed.
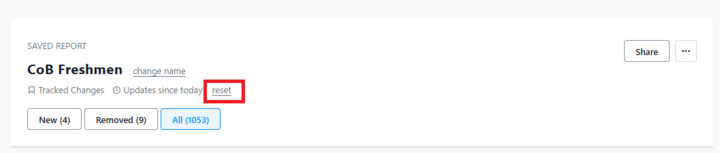
Once you have viewed your new and removed students and you no longer need to identify them as new/removed, you can click on “reset” to refresh the tracked lists. Your New and Removed students lists will be cleared. This action cannot be undone. The report will then track new and removed students starting from the time you clicked “reset.”
Sharing a Report
You can share reports with any Stellic user with access to students in Stellic.
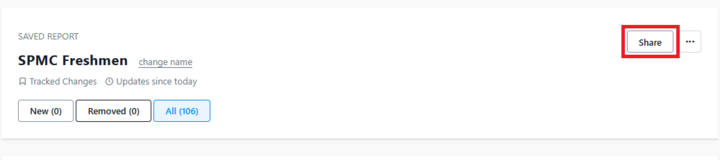
You can edit an existing report once you have run it by clicking on the three dots to the extreme right of the report title.

It is recommended that you use Share to share a list of students with someone else, rather than downloading a list of students from Stellic. This keeps student information safer.
If you are planning to work more with the list of students and need the list in a spreadsheet format to do so, you can download the students from a report following these steps:
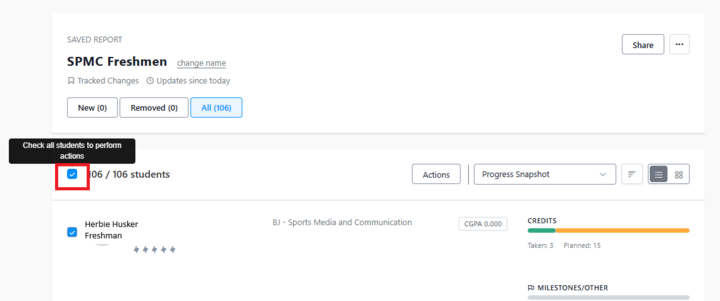
- Run the report.
- Select all students by clicking the checkmark at the very top of the student list.
- Under Actions, Select Generate a Report.
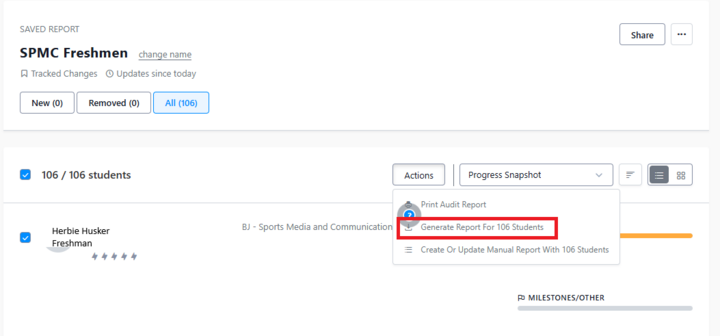
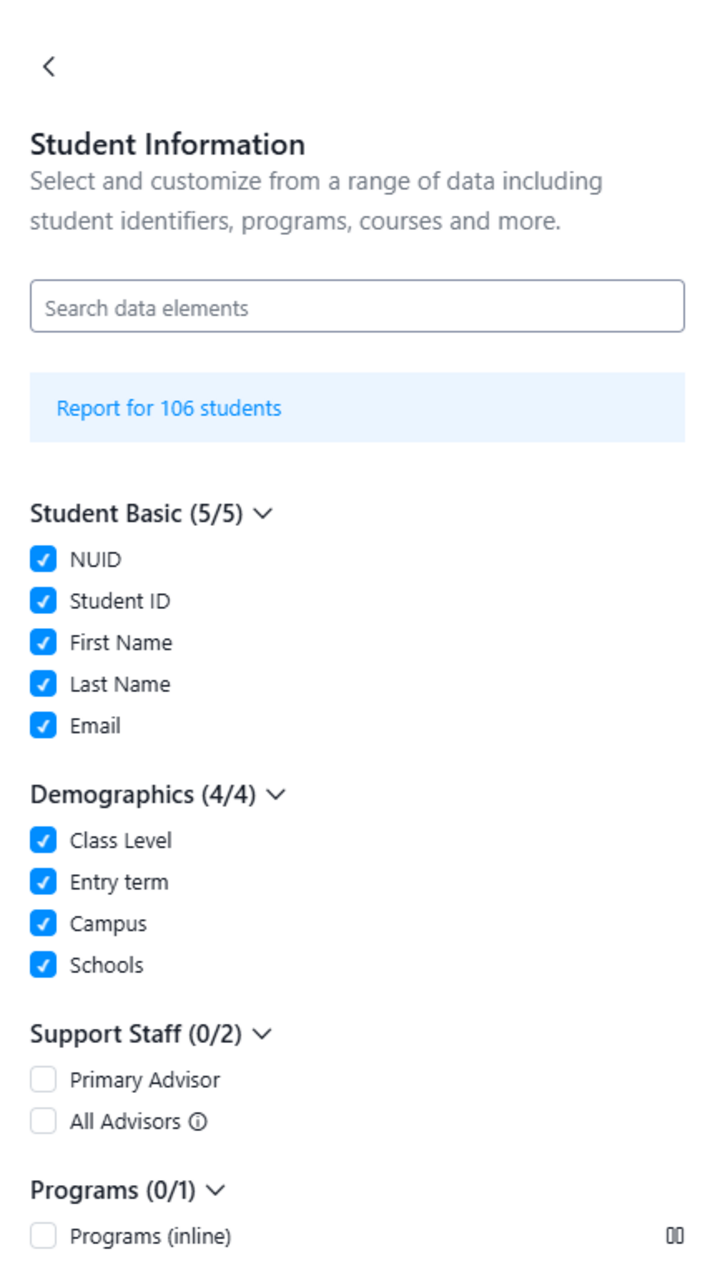
- Choose what type of report you'd like to generate. We recommend starting with a Student Information report and then customizing the data elements on the next screen (step 5).
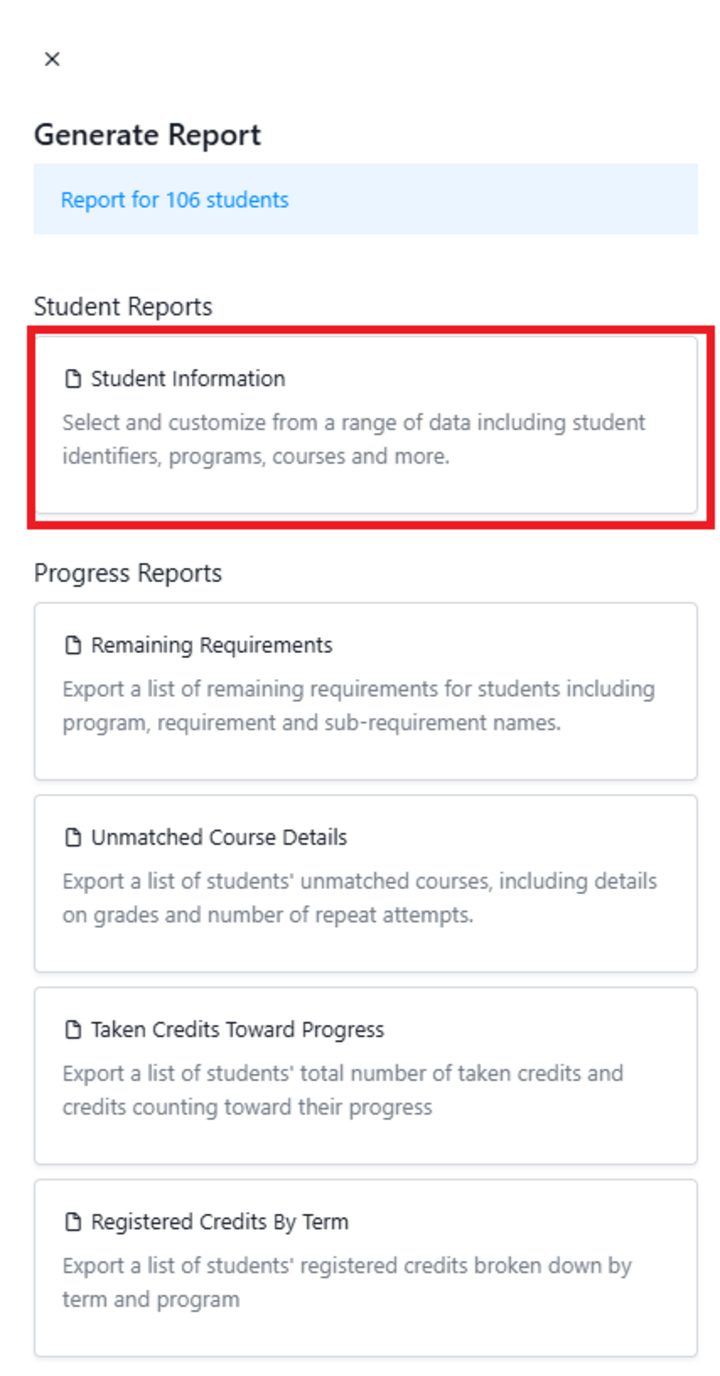
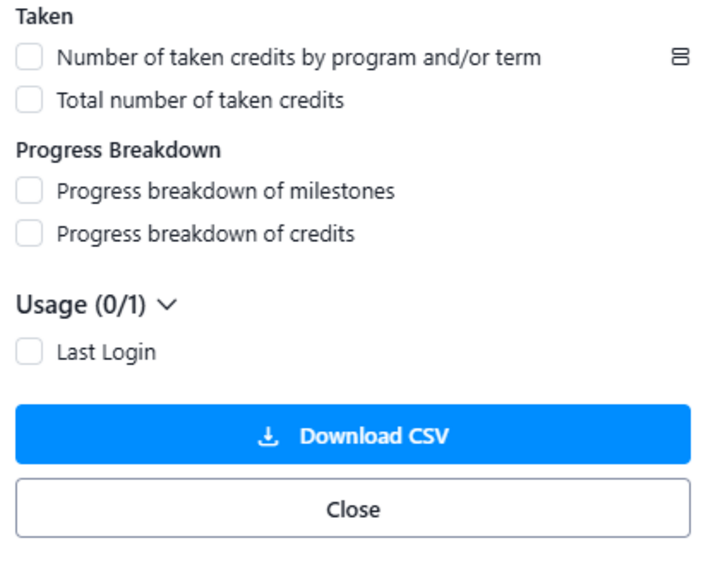
- Choose what pieces of student information you'd like to include in the report.
- Scroll all the way to the bottom of the Student Information Report customization screen and click "Download CSV."
- Your spreadsheet will download, and you can open it and work with it now.