Opening Stellic
To open Stellic:
- Log into your MyRED
- Click on the Enrollment Tab
- Click the Build Schedule & Enroll button.
Accessing Stellic Scheduler
There are several ways to navigate Stellic to get to where you can enroll, drop, or modify your registration. Below are the three main ways to get to the Scheduler page in Stellic.
Planner
Going through the Planner allows you to add, remove, or make changes to your planned classes prior to continuing the registration process. Planned classes automatically populate the Scheduler, allowing you to make quicker changes. For more information on how to use your Planner, contact your Academic Advisor.
Use the left-hand menu to select the Plan your Path option. Then find the term you wish to register in and click the Continue to Registration button for that term.

Schedule (Term) Side Menu
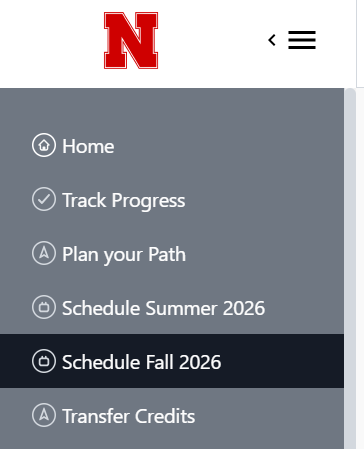
This is perhaps the most direct way to get to the Scheduler page. On the left-hand menu, click the Schedule (Term) link you wish to make registration changes for. If the link is not there for the term you wish to register in, contact your Academic Advisor.
Banner
Across the top of your Stellic Home page, you will likely see a banner (or two) announcing that registration is open for a term. Click the button Start Registration to be taken to the Scheduler page.
