Navigate to the Enrollment Tab
In the main navigation bar, click on Enrollment.

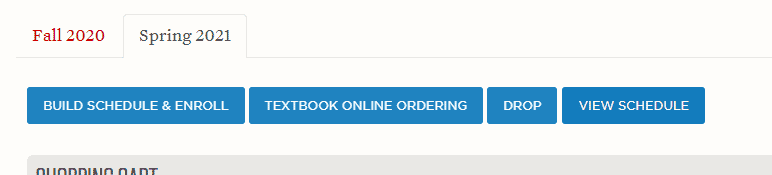
Launch the Scheduler
To access the Scheduler and enroll in classes, click the Build Schedule & Enroll button. It does not matter which term tab is selected prior to clicking the Build Schedule & Enroll button. You will get to choose your term once the Enrollment Scheduler has launched.
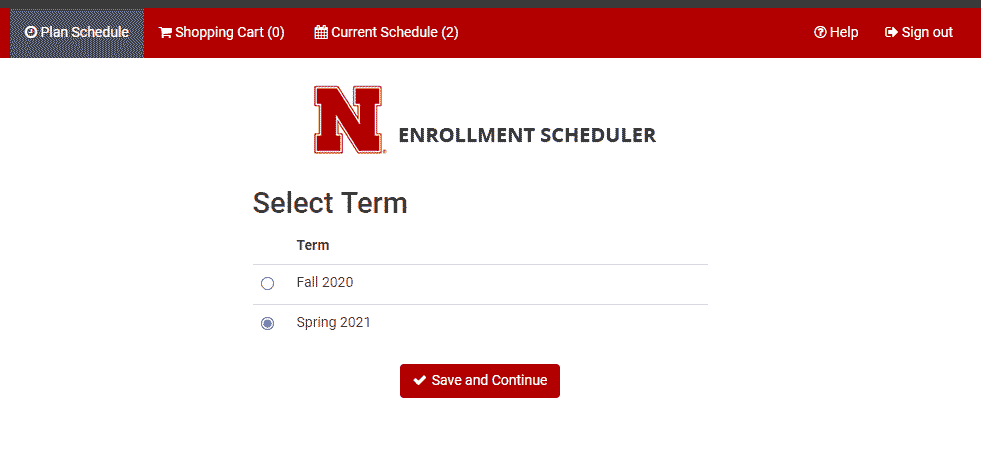
Once the Enrollment Scheduler is launched, choose the semester for which you wish to create a schedule. Click Save and Continue.
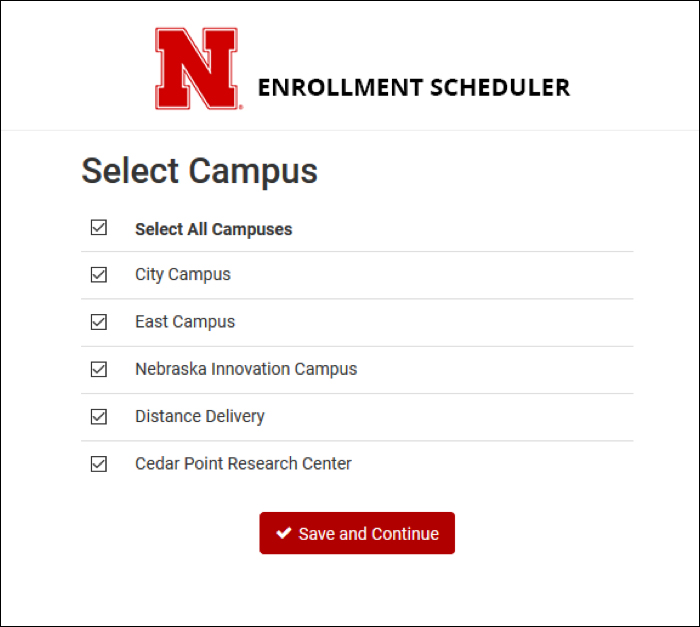
Next, select the campus locations from which you wish to take classes. Click Save and Continue.