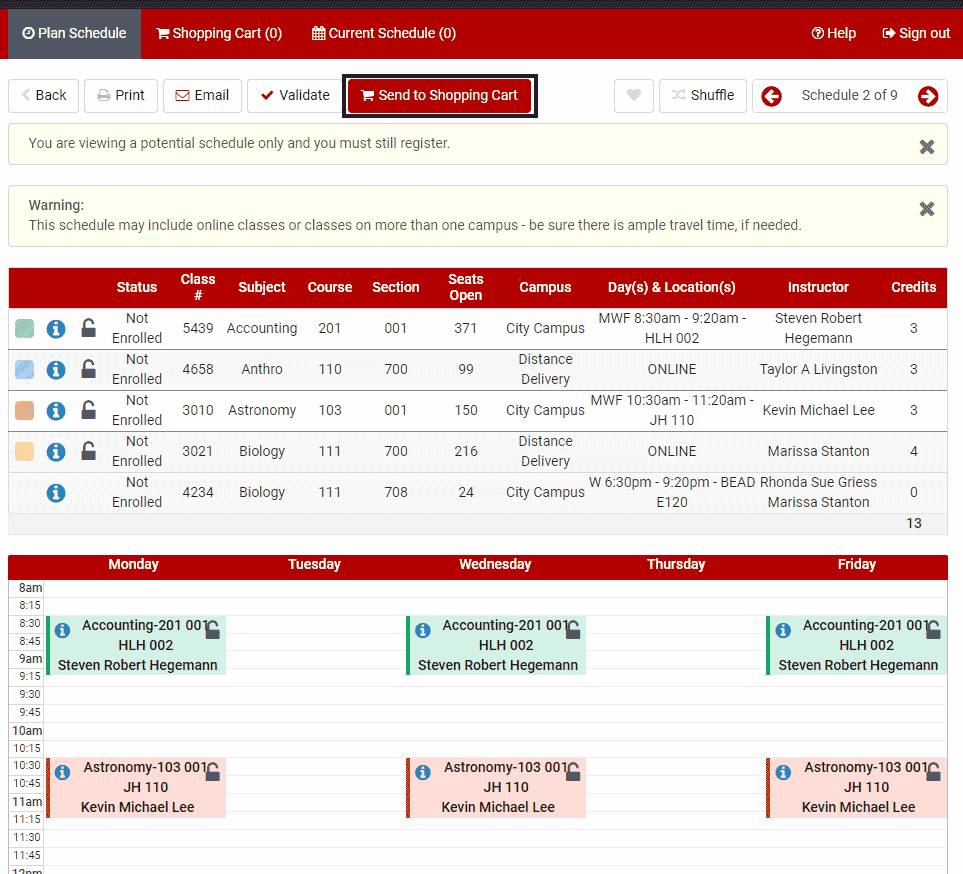
Once you have chosen your preferred schedule, click Send to Shopping Cart. You can only send one schedule to your shopping cart.
*Note: Adding a class to your shopping cart does not reserve your spot in that class and does not mean you are registered. You can leave classes in your shopping cart as long as you want, but you are not actually registered in them until you complete the registration process.
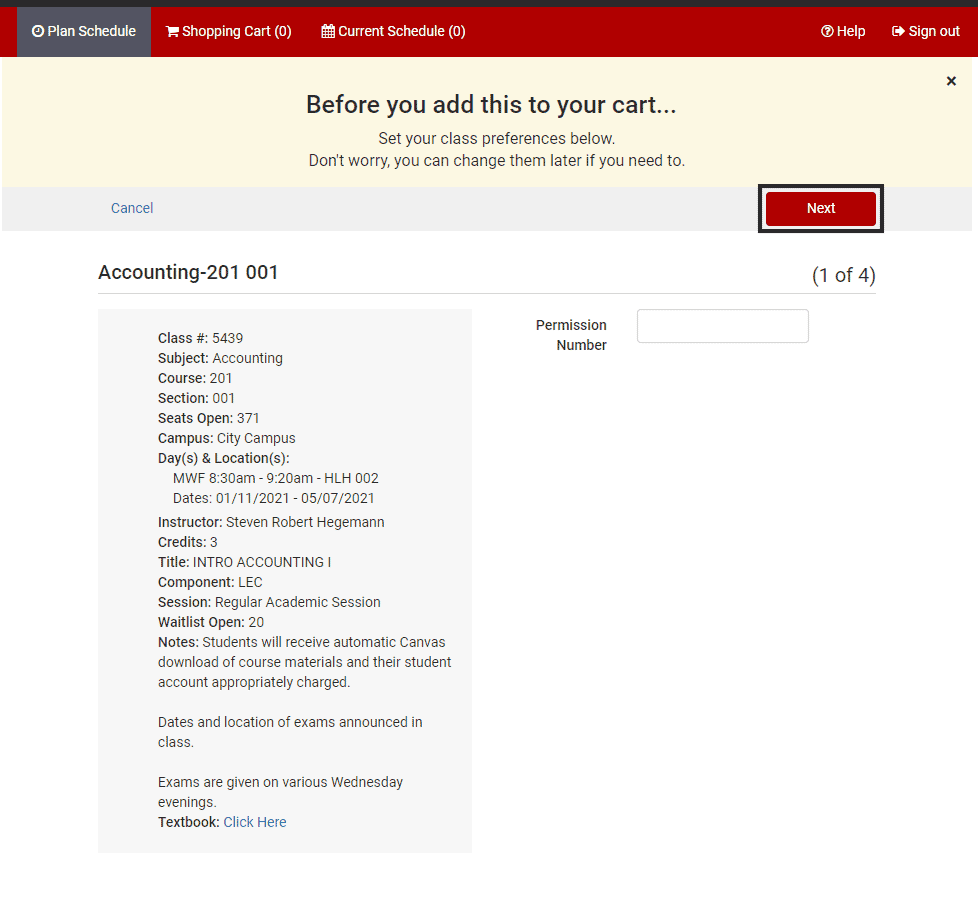
As you add the class sections to the shopping cart, you will be prompted to set your class preferences (grading basis and/or number of credit hours if applicable). These preferences can be changed later if needed. Click Next to advance to the next class.
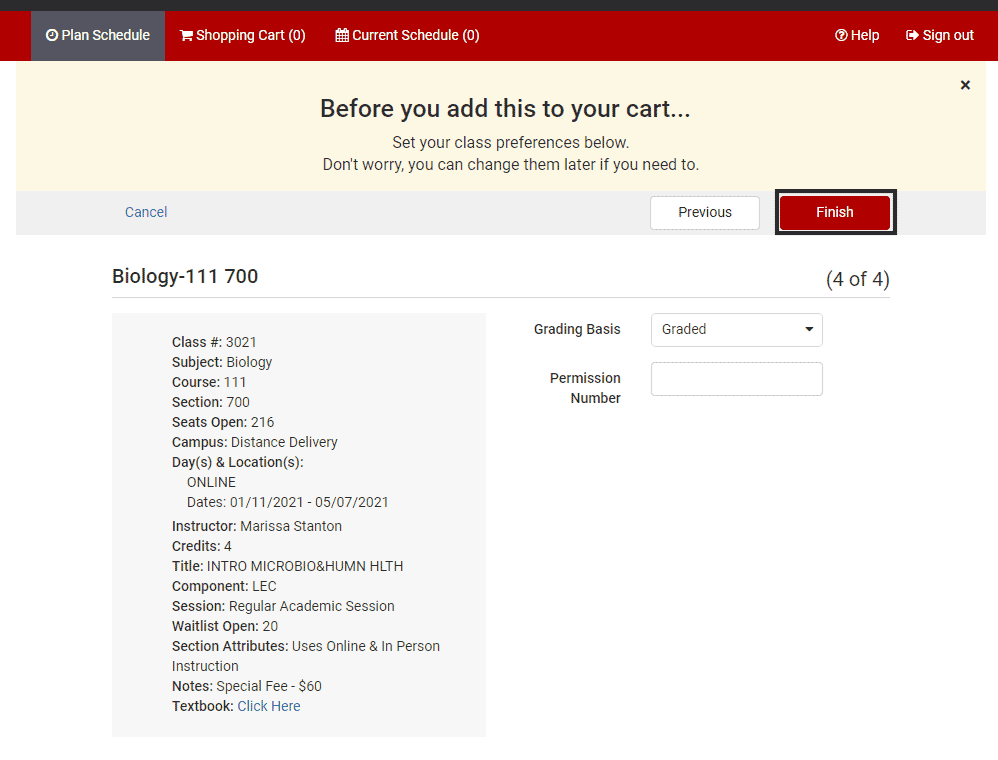
Once preferences have been set for all classes, click Finish.
Once the classes are in the shopping cart, you have the option to Edit Your Cart and/or Register.
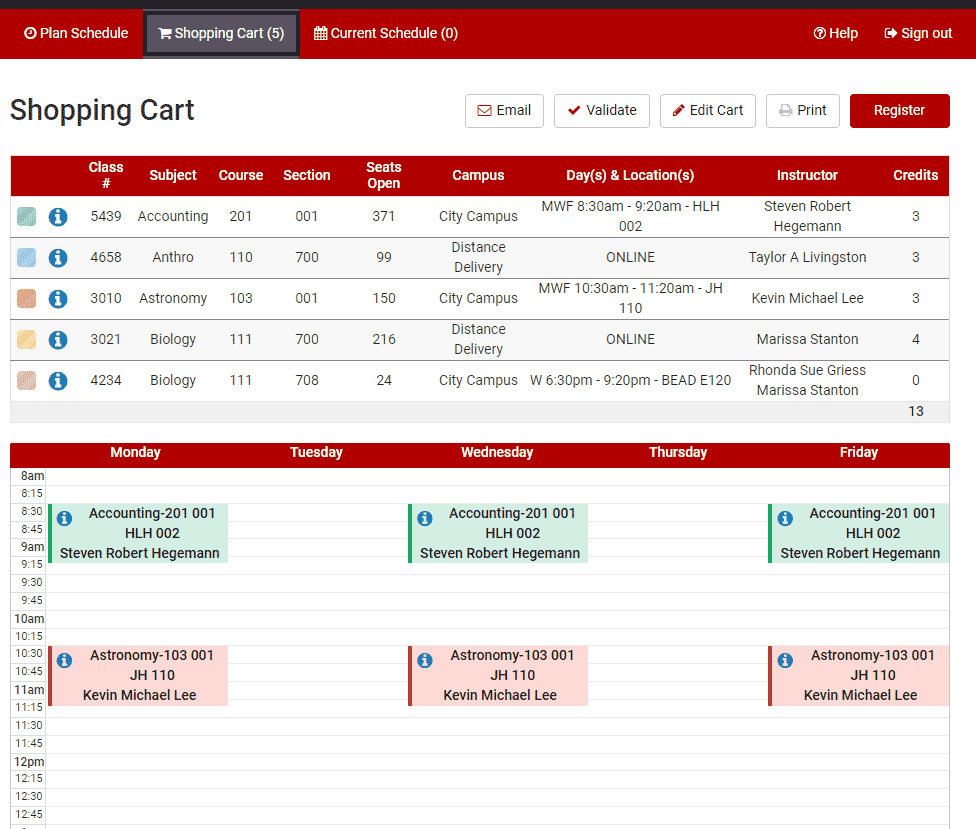
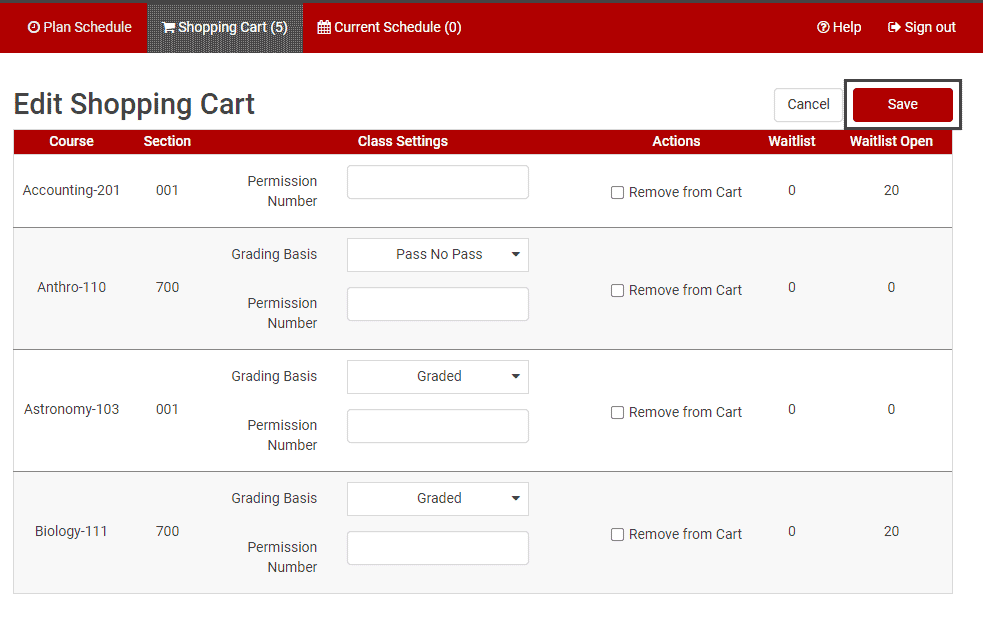
To edit your shopping cart before enrollment, click Edit Cart.

Editing your shopping cart allows you another opportunity to change grading basis, variable credit hours, enter permission codes if applicable, and remove courses from the cart.
When changes are made, click Save. If no changes are needed, click Cancel to return.