Enrolling in Courses in Stellic Scheduler
Once all your courses are in your Plan (see how to Add Courses to Scheduler at https://registrar.unl.edu/class-registration-tutorials/adding-courses-stellic-scheduler/), it is time to enroll in your courses.
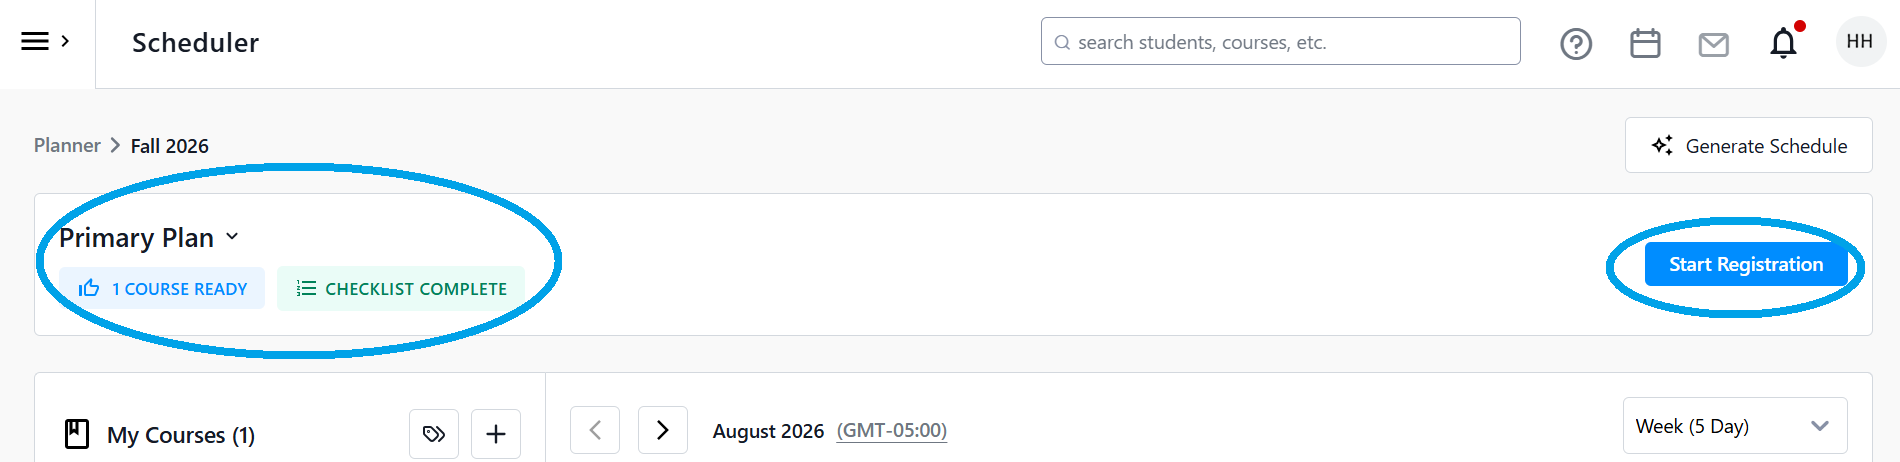
From the Scheduler page, go to the top of your screen. Resolve any warnings listed in the bar, and then click Register for Courses. If the button is grayed out, make sure that you have agreed to the Financial Acknowledgement and resolved any other warnings or holds listed at the top of the page.
Example of Warnings

Example of Resolved Warnings
This will then bring you to the Registration page. Review your courses one more time and make sure that everything looks as you expect it to. Again, if there are any warnings, make sure to the review them. Courses that Stellic determines are good to go will have a thumbs up icon with the word Ready next to it.

You can remove any courses you no longer wish to register for by using the Remove button on the right of the course's row.

To change the sections of the course, click on the left course tile '>' symbol to open the course details panel. Scroll down to select a different section (see our Adding Courses to Stellic Scheduler and Changing or Removing Course Sections in Stellic Scheduler tutorials for more).

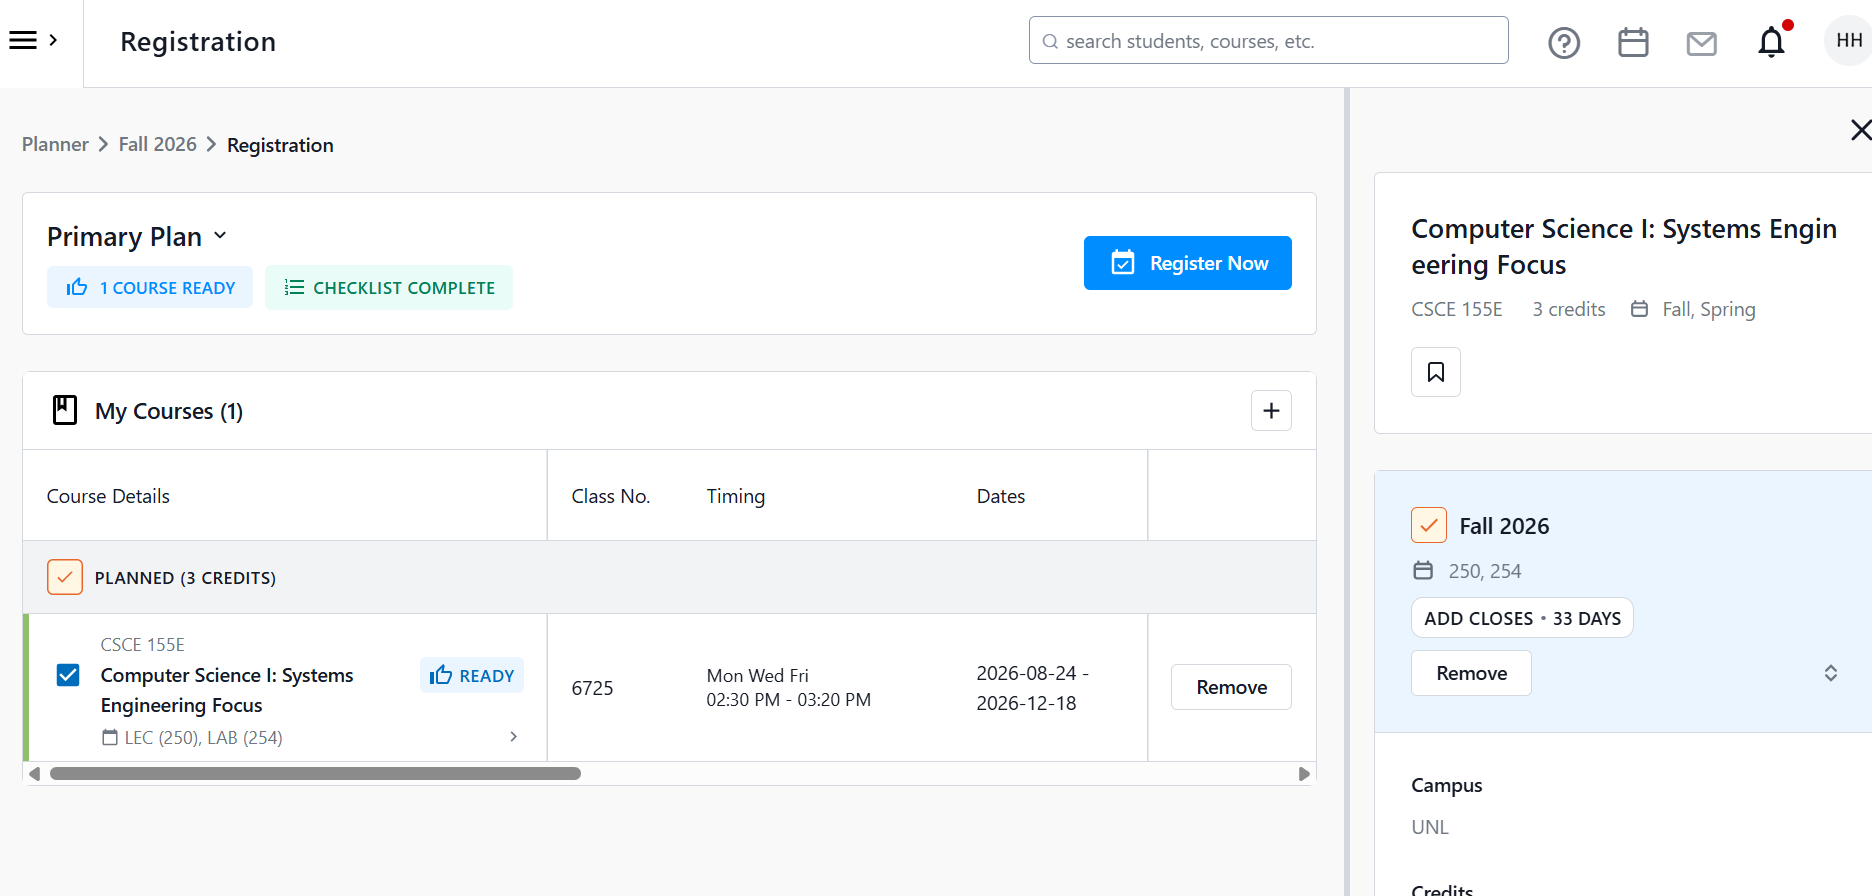
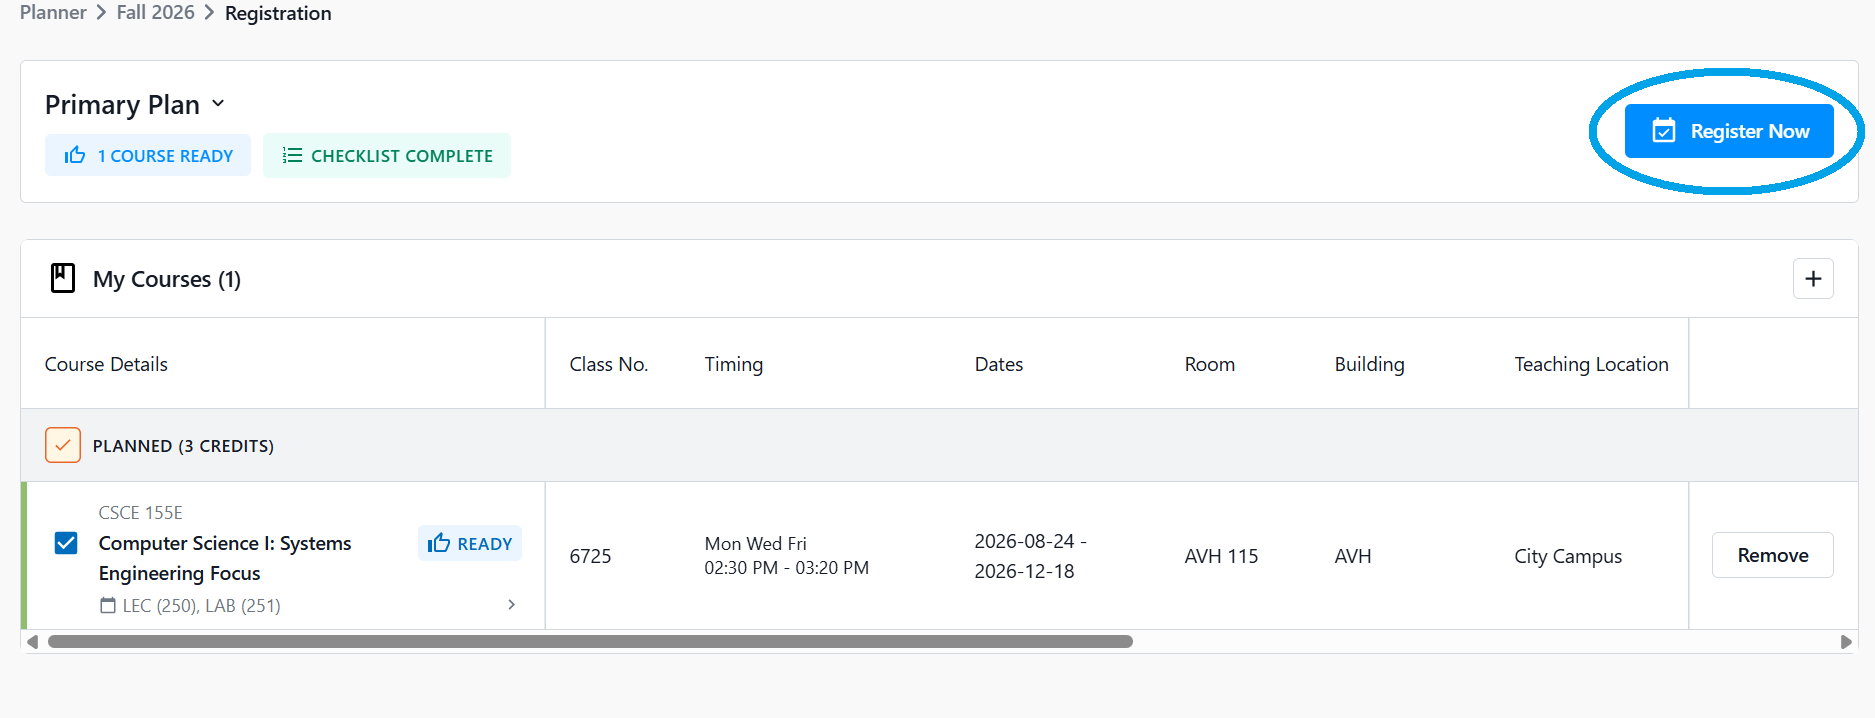
Once you are happy with the listed courses, click the Register Now button.
A box will appear asking you to verify which courses you wish to register in. if you need to change or add courses, click Back to Registration. If you are ready to enroll, click Confirm.

It will then process your request.

After this, you will then get a message showing that the course was successfully registered. You can click the link See details of registered courses to see the full list of courses you were registered in.


If you were not enrolled, you will get an error message and the reason why. If you are unsure what your messaging means, please contact your Academic Advisor for assistance.

You can now view your enrolled (or registered) courses anytime in Stellic or your MyRED. You will notice that under the My Courses section of the scheduler on the left-hand side, that the course you enrolled in is listed under the Registered section. Please note that MyRED is the official keeper of your class schedule.
Updated view in Stellic Scheduler of Registered Courses
