This video will show you how. Written instructions with pictures are provided below the video.
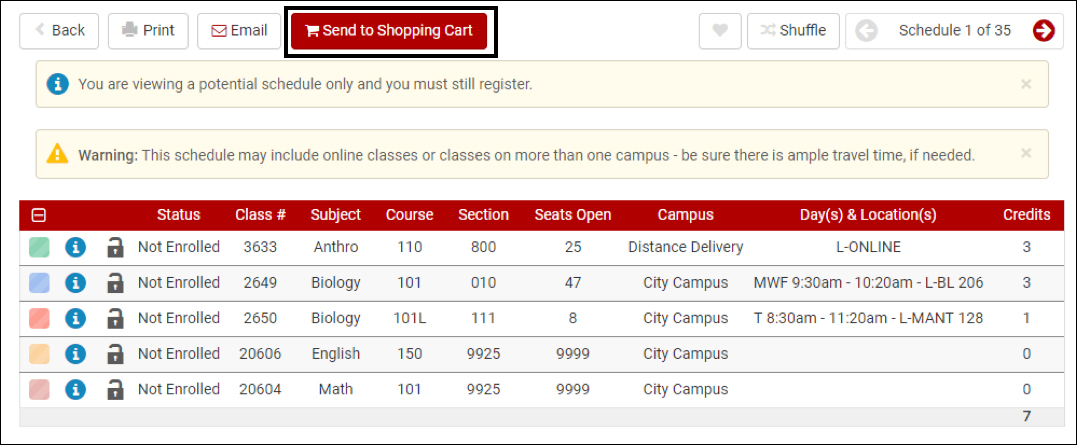
Click the Send to Shopping Cart button.
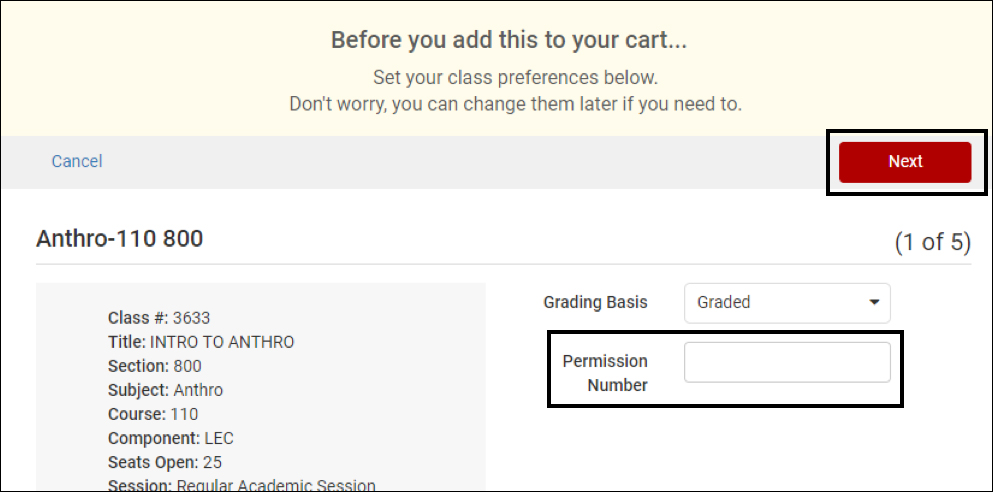
Enter the permission code given by your advisor or your professor into the Permission Number box provided. Click Next.